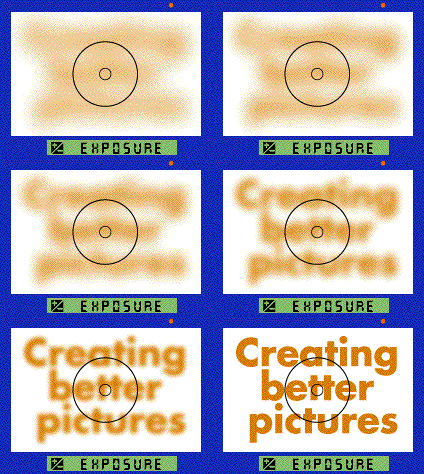
| There are three automatic exposure modes: "P" (programmed auto) mode
is ideal for parties, festivals, and other occasions when you don't have time to make
settings one at a time.
"S" (shutter-priority auto) mode is great for motor sports and
other fast action scenes.
"A" (aperture-priority auto) mode offers most control of depth of
field.
Since we described in the 4th and 5th issue how the Matrix Metering System is reliable
for virtually any lighting situation, including backlit scenes, let's discuss in this
issue our last point regarding exposure -- the exposure compensation.
Why Compensation is necessary
The metering system in most single-lens reflex (SLR) cameras measures light reflected off
the subject. As mentioned in the last issue, light passing through the lens is measured
inside the camera in the TTL system. This system, together with the Matrix Metering
System, can be used to set optimal exposure for virtually every situation.
The internal metering system, however, is designed to provide optimal exposure for an
18% reflectivity subject (the so-called "standard gray card"). When subject
reflectivity is considerably different, as with subjects surrounded by snow or
backlighting, exposure setting function of automatic cameras may not work properly. In
such cases, exposure compensation technique can help solve the problem.
The following tables show typical situations for exposure conpensation.
Typically under-exposed
scenes
[ many bright areas (more than 18% reflectivity) on subject ] |
Exposure compensation
direction |
| backlighting, or lighting simulating
backlighting |
Plus (+) |
| More than half of the image area is white
or yellow |
| Sunsets or sunrises, with sky occupying
more than half of the image area |
Typically over-exposed
scenes
[ many dark areas (less than 18% reflectivity) on subject ] |
Exposure compensation
direction |
| Images with deep greens, such as the
color of broadleaf trees |
Minus (-) |
| More than half of the images is in shadow |
| Close-ups of black-colored subjects |
| When subject has many bright areas (more than 18% reflectivity) |
 |
 |
| Without compensation |
+1 EV compensation |
| When subject has many dark areas (less than 18% reflectivity) |
 |
 |
| Without compensation |
-1 EV compensation |
Reflectivity of a main subject
                        Over 18%: Under-exposure --> Plus (+)
                   •--- compensation (Images of snow, close-ups of
                   |    white or yellow subjects, backlighting, etc.)
                   |
Reflectivity       |
     of        ----•--- 18%: Optimum exposure
a main subject     |
                   |
                   |    Under 18%: Over-exposure --> Minus (-)
                   •--- compensation (Images of deep green, shadow,
                        dark images, etc.)
Amount of exposure compensation
Exposure compensation in SLR cameras is generally made by rotating a dial or pressing a
button. Because the amount of compensation should vary according to situation, experience
is essential to get precisely the exposure desired.
Exposure compensation guidelines
- Scene with sun: 0 to +3 EV
- Snow or shining water: +2/3 to 3 EV
- Close-up of white or yellow flower: +1/3 to +1-2/3 EV
- Dim night sky: 0 to +2 EV
- Twilight landscape:-2/3 to 0 EV
- Steam locomotive (black subject): -1-1/3 to -2/3 EV
Note: When exposure compensation is made on a Nikon SLR, the numerical
compensation value is displayed on the top LCD and/or in the viewfinder. The displayed
values and compensation correspond as shown below.
| Displayed value |
-1 |
-0.7 |
-0.5 |
-0.3 |
0 |
+0.3 |
+0.5 |
+0.7 |
+1 |
| Compensation value |
-1 |
-2/3 |
-1/2 |
-1/3 |
0 |
+1/3 |
+1/2 |
+2/3 |
+1 |
Try exposure bracketing
As described above, even when you know in which direction (+ or -) to compensate for
exposure, you may not know how much to compensate. The delicate lighting of sunrises and
sunsets is especially difficult to judge. In such cases, try taking a number of shots,
each with a slightly different exposure. This is called "exposure bracketing".
Remember, you may only get one chance to capture your shot, so shooting a number of
pictures of an important scene helps to ensure that you get exactly the right shot you're
looking for.
 |
 |
 |
| -1 EV compensation |
Without compensation |
+1 EV compensation |
Use the Auto Exposure Bracketing
By simply setting the bracketing step and number of shots, the camera will shoot the
number of shots that you specify, and offset the exposure by the specified EV steps. This
Auto Exposure Bracketing function is built into some Nikon AF cameras, or can be used
otherwise by attaching an optional multi-control back featuring the function.
|

![]()
